前言
上个月从零开始直接上手react three fiber,跟着同事写了一堆交互,总算弄得差不多了。不会React,不会TS,不会three,真不知道自己怎么过来的。途中也了解到原子化css,总之收获颇丰。目前是因为需要将渲染画面推流到场景中,故做点经验分享
前期准备
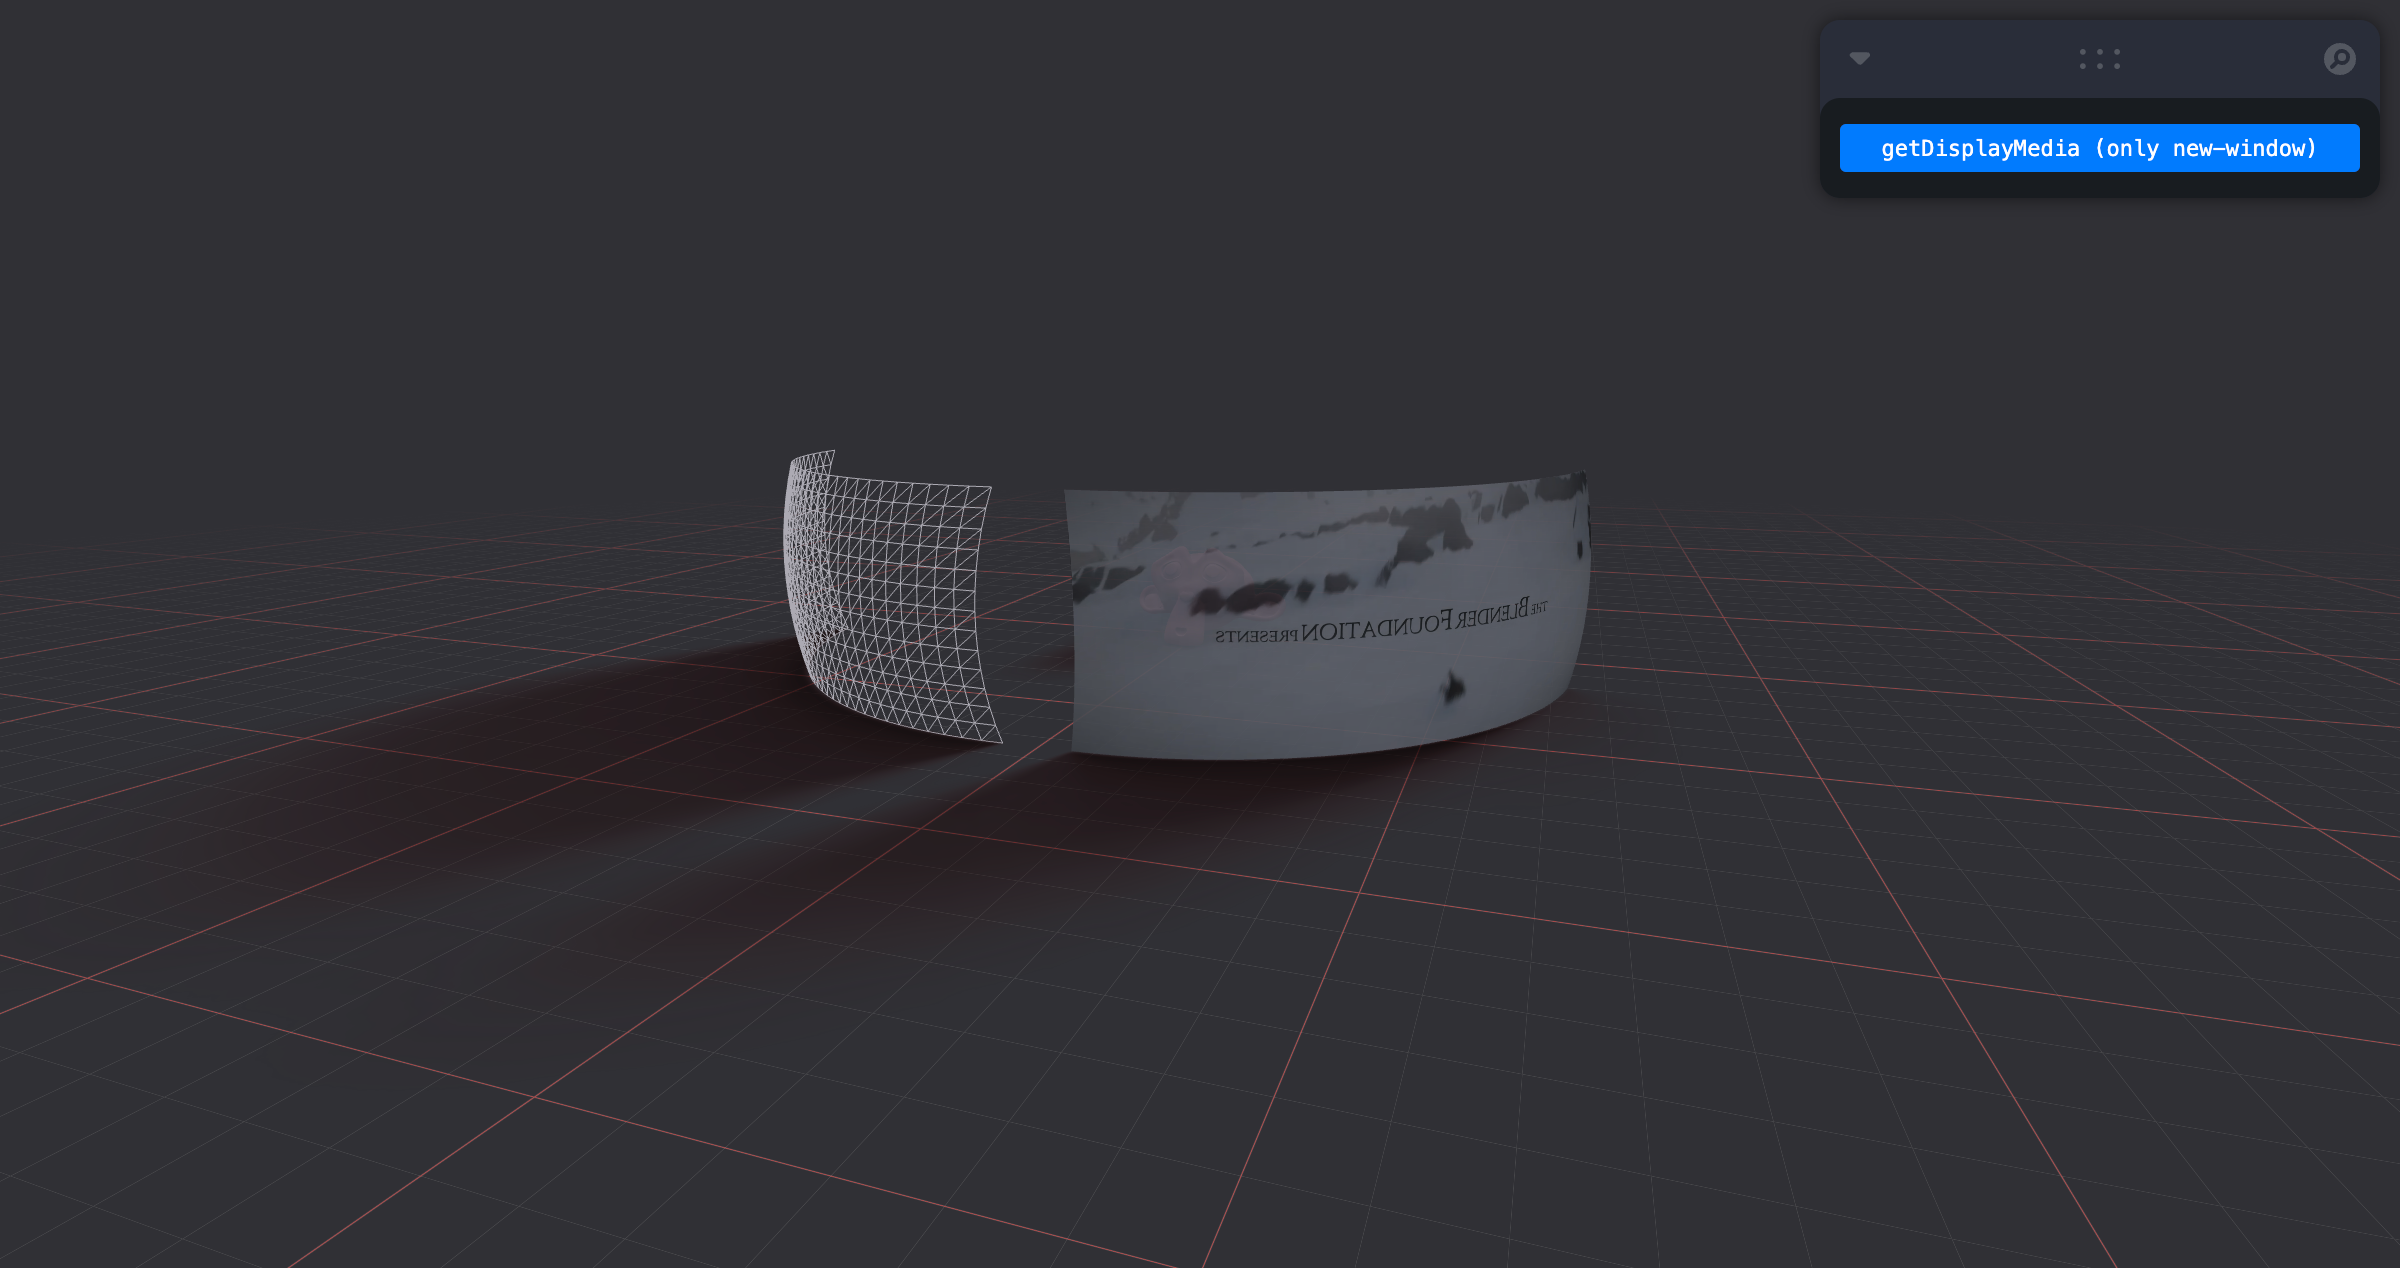
首先得创建个场景然后播放视频吧,可以参考下面我做的这个案例

GreenScreen-Streaming
首先做一个VideoMaterial的function,减少耦合度。当然你也可以写的简单点,这里主要是为了后续添加遮罩的方便。但是存在一定色差,暂时没找到解决方法
 1
 2
 3
 4
 5
 6
 7
 8
 9
10
11
12
13
14
15
| function VideoMaterial({ src, mask_src }) {
const texture = src ? useVideoTexture(src) : null
const mask = mask_src ? useVideoTexture(mask_src) : null
return (
<meshPhysicalMaterial
color={0x000000}
emissive={0xffffff}
emissiveMap={texture}
alphaMap={mask}
emissiveIntensity={1}
opacity={1}
transparent={true}
toneMapped={false} />
);
}
|
记得用Suspense包裹一下,不然会报错,因为渲染的前后关系不对。建议fallback里给个材质留给加载的时间,这里我放了个loading的动画
1
2
3
4
5
6
7
8
9
| <mesh>
<planeGeometry args={[7.111, 4]} />
<Suspense fallback={<VideoMaterial src="loading.mp4" />}>
<Suspense >
<VideoMaterial
src="WING IT! - Blender Open Movie.mp4"
mask_src='mask.mp4' />
</Suspense>
</mesh>
|
这样就可以看到一个带透明通道的视频显示在屏幕上,当然可能用quicktime格式会更快些,但体积大
视频流
有条件的可以现在主机上插个摄像头,先通过API获取到视频流
 1
 2
 3
 4
 5
 6
 7
 8
 9
10
11
12
13
14
15
16
17
18
19
| const [stream, setStream] = useState()
useEffect(async () => {
const constraints = {
audio: false,
video: true,
}
navigator.mediaDevices
.getUserMedia(constraints)
.then((stream) => {
window.stream = stream
setStream(stream)
console.log(stream)
navigator.mediaDevices.enumerateDevices().then(function (devices) {console.log(devices)})
})
.catch((error) => {
console.log(error)
})
}, [])
|
不出意外的话屏幕上就能出现摄像头的画面了。另外可以在useState中设置参数来显示加载动画

OBS虚拟摄像头
但是我们如果想输出各种画面一般都是使用OBS的虚拟摄像机推流。那么怎么切换摄像机呢?
可以看到上述的代码通过使用constraints来约束使用的摄像头,需要的deviceId可从console中获取
1
2
3
4
5
| InputDeviceInfo
deviceId: "6bd3a42e2bf68c2246a5a9bcffa2e43fab316554f504a6ad5687c5674ea6e5d1"
groupId: "e8291660abbb766dfaaebafbd6f4d3eb046f00603e3cb4d3c2bcd30673415982"
kind: "videoinput"
label: "OBS Virtual Camera"
|
于是我们找到OBS虚拟摄像头的信息,填入constraints
1
2
3
4
5
6
7
| const constraints = {
audio: true,
video: {
deviceId:
<YOUR OBS ID>
}
}
|
绿幕shader
接下来就剩抠绿幕了。你或许会问为什么不在OBS里直接用色度键去除呢?因为它不支持推流视频带alpha通道,虽然抠的只剩个人但推出去还是个大黑框
于是我们就得用到shaderMaterial
 1
 2
 3
 4
 5
 6
 7
 8
 9
10
11
12
13
14
15
16
17
18
19
20
21
22
23
24
25
26
27
28
29
30
31
32
33
34
| const vertexShader = `
varying vec2 vUv;
void main( void ) {
vUv = uv;
gl_Position = projectionMatrix * modelViewMatrix * vec4(position,1.0);
}
`
export default vertexShader;
const fragmentShader = `
uniform vec3 keyColor;
uniform float similarity;
uniform float smoothness;
varying vec2 vUv;
uniform sampler2D map;
void main() {
vec4 videoColor = texture2D(map, vUv);
float Y1 = 0.299 * keyColor.r + 0.587 * keyColor.g + 0.114 * keyColor.b;
float Cr1 = keyColor.r - Y1;
float Cb1 = keyColor.b - Y1;
float Y2 = 0.299 * videoColor.r + 0.587 * videoColor.g + 0.114 * videoColor.b;
float Cr2 = videoColor.r - Y2;
float Cb2 = videoColor.b - Y2;
float blend = smoothstep(similarity, similarity + smoothness, distance(vec2(Cr2, Cb2), vec2(Cr1, Cb1)));
gl_FragColor = vec4(videoColor.rgb, videoColor.a * blend);
}
`
export default fragmentShader
|
App.js内
 1
 2
 3
 4
 5
 6
 7
 8
 9
10
11
12
13
14
15
16
17
18
19
20
21
22
23
| const streamTexture = useVideoTexture(stream);
const material = new THREE.ShaderMaterial({
transparent: true,
uniforms: {
map: { value: streamTexture },
keyColor: { value: [0.0, 1.0, 0.0] },
similarity: { value: 0.7 },
smoothness: { value: 0.0 }
},
vertexShader,
fragmentShader
});
return (
<Suspense>
<mesh
position={[-8, 2, -4]}
scale={1}
material={material}
>
<planeGeometry args={[7.111, 4]} />
</mesh>
</Suspense>
);
|
这里我事先放了一个绿幕视频作为加载动画,只要输入自己的deviceId就能正常显示了

后话
至于为什么这里不采用VideoMaterial另开一个材质函数的写法,而是three.js的用法,是因为我也不知道为什么会有bug,欢迎在评论区交流
最后在实际体验过程中,我需要让这块平面始终朝向摄像机,会的人可能觉得一个useRef和useFrame就解决了,但是我拿不到父组件的摄像头信息。后来终于发现可以用useThree这个hook,直接拿到camera
参考链接

webcam
Bye~Bye

和纱太好看了
@Kerno_kr


